How to Measure the Parameters of the Blade That the Machine Needs to Use and the Error After Wear
Using the correct blade for a machine is essential for safe, efficient, and high-quality work. But even the right blade wears down over time, leading to errors that affect performance. Knowing how to measure a blade’s key parameters before use and track wear-related errors ensures your machine operates at its best. This guide explains how to measure the critical parameters of a blade your machine requires, how to check for wear, and how to calculate the errors that come with worn blades.
Key Blade Parameters to Measure for Machine Compatibility
Before using a blade, you must measure its core parameters to ensure it matches your machine’s requirements. These parameters vary by machine type (e.g., circular saws, slitting machines, or cutters) but generally include the following:
1. Blade Diameter
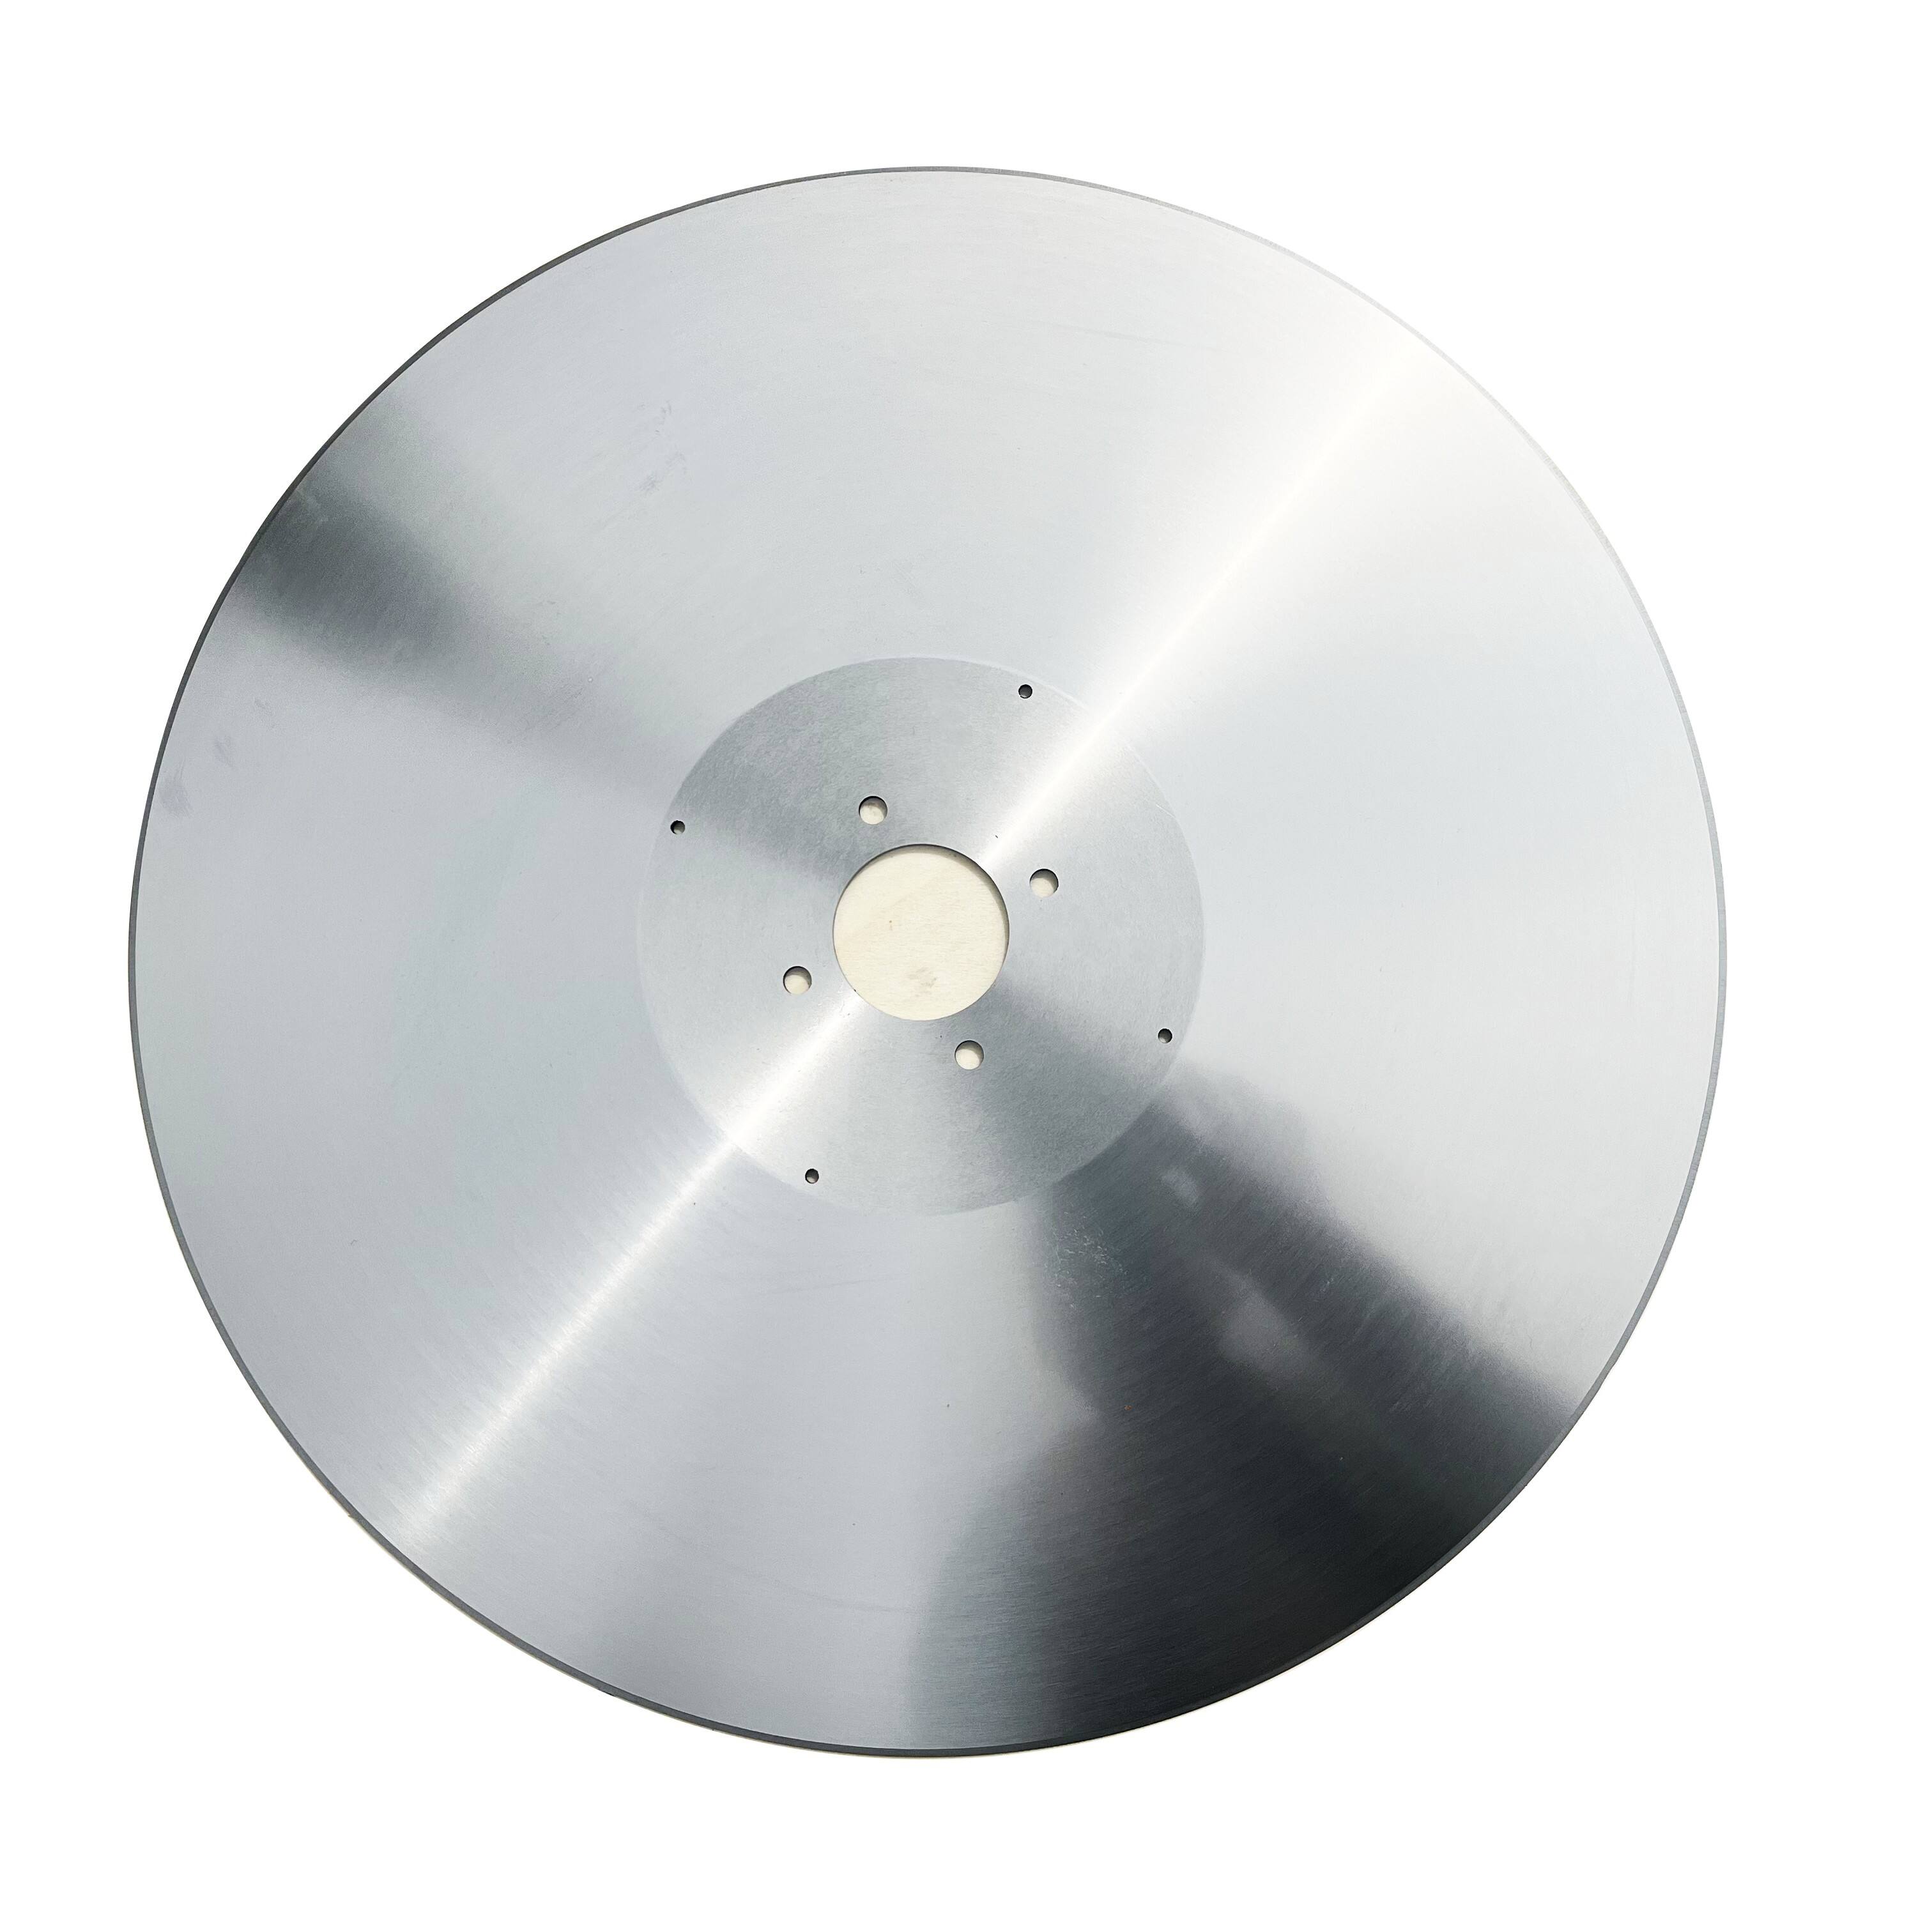
The diameter is the distance across the blade from one edge to the opposite edge, passing through the center. It is one of the most critical parameters, as machines have strict maximum and minimum diameter limits.
- How to Measure: Use a tape measure or caliper. Place the measuring tool across the blade’s widest point, ensuring it passes through the center hole (arbor). For circular blades, measure from tooth tip to tooth tip.
- Machine Requirement: Check your machine’s manual for the recommended diameter range. Using a blade larger than the maximum diameter can cause it to hit the machine’s guard or housing, while a blade smaller than the minimum may not cut properly or vibrate excessively.
2. Arbor Size
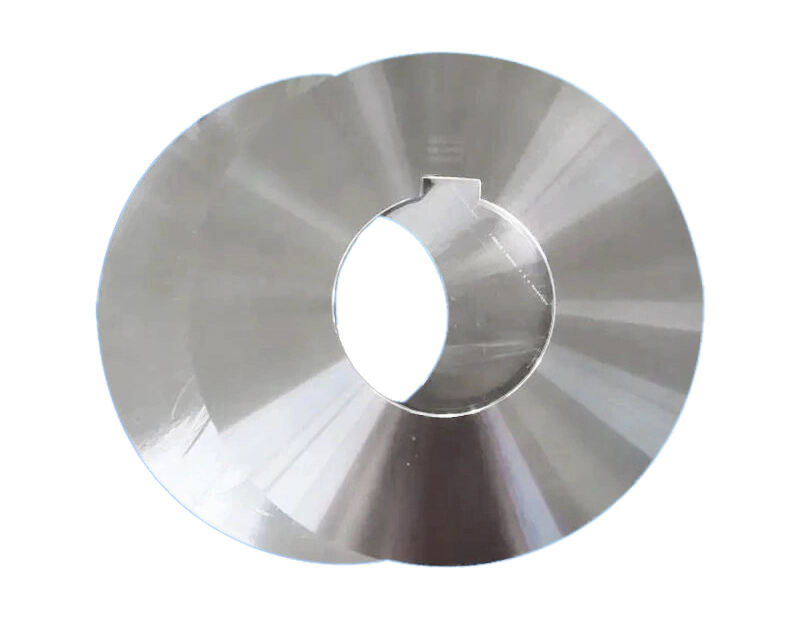
The arbor is the central hole in the blade that attaches to the machine’s spindle. The arbor size must match the spindle size exactly to secure the blade.
- How to Measure: Use a caliper to measure the inner diameter of the arbor hole. For accuracy, measure at three different points around the hole and take the average.
- Machine Requirement: The arbor size must match the spindle size (e.g., 5/8 inch, 1 inch). Even a small mismatch can cause the blade to wobble, leading to uneven cuts or damage. Avoid relying on adapters, as they increase instability.
3. Blade Thickness
Blade thickness affects the width of the cut (kerf) and how well the blade fits in the machine’s throat plate or guide.
- How to Measure: Use a micrometer (a precise tool for measuring small thicknesses). Place the micrometer across the flat part of the blade (not the teeth) and gently close it to get the reading.
- Machine Requirement: The blade’s thickness (kerf) must fit within the machine’s throat plate slot. A blade thicker than the slot can bind, causing jams or overheating. Thinner blades may vibrate if the slot is too wide.
4. Tooth Parameters (for Toothed Blades)
For blades with teeth (e.g., saw blades), tooth parameters like pitch, size, and angle directly impact cutting performance.
- Tooth Pitch: This is the distance between consecutive teeth, often measured as teeth per inch (TPI). Count the number of teeth in 1 inch and divide to get TPI. For example, 10 teeth in 1 inch = 10 TPI.
- Tooth Height and Angle: Use a caliper to measure tooth height (from the base to the tip). For angle, use a protractor to measure the angle of the tooth’s cutting edge.
- Machine Requirement: Machines designed for rough cuts (e.g., ripping wood) need low TPI blades, while fine cuts require high TPI. Tooth angle must match the material—aggressive angles for soft materials, shallow angles for hard materials.
5. Blade Hardness
Hardness determines a blade’s durability and suitability for cutting certain materials. It is measured using the Rockwell hardness scale (HRC for hard metals).
- How to Measure: Use a hardness tester. For portable checks, a rebound hardness tester can estimate hardness without damaging the blade.
- Machine Requirement: Harder blades (e.g., carbide-tipped) work with high-power machines for cutting metal or hardwood. Softer blades (e.g., high-carbon steel) are better for low-power machines and soft materials.

How to Measure Blade Wear and Calculate Errors
Even the best blades wear down over time. Wear causes errors like uneven cuts, increased friction, or reduced efficiency. Here’s how to measure wear and the errors it creates:
1. Visual Inspection for Wear Signs
Start with a visual check to identify obvious wear:
- Dull Teeth: Look for rounded or flattened tooth tips (sharp teeth have pointed, clean edges).
- Chips or Nicks: Check for missing pieces in the teeth or blade edge, which cause uneven cuts.
- Rust or Corrosion: Rust weakens the blade and affects balance, leading to vibration.
- Warping: Place the blade on a flat surface; gaps between the blade and surface indicate warping, which causes uneven cutting depth.
2. Measuring Wear with Tools
Use precise tools to quantify wear and calculate errors:
- Tooth Wear: Use a caliper to measure the height of a new tooth and compare it to a worn tooth. The difference is the wear amount. For example, if a new tooth is 5mm tall and a worn one is 3mm, the wear error is 2mm. This error leads to shallower cuts or the need for more pressure.
- Blade Thickness Loss: Measure the blade’s thickness at the same point over time. A 0.5mm loss in thickness means the kerf (cut width) is narrower, which can cause binding if the machine’s throat plate isn’t adjusted.
- Runout (Wobble): Mount the blade on the machine (power off) and use a dial indicator. Rotate the blade slowly; the indicator shows how much the blade wobbles (runout). A runout error of more than 0.1mm causes uneven cuts and vibration.
- Cut Quality Error: Make a test cut on scrap material. Measure the cut’s width (kerf) with a caliper. Compare it to the blade’s thickness—if the kerf is wider than the thickness, it indicates tooth wear or blade wobble.
3. Calculating Performance Errors from Wear
Wear leads to measurable performance errors that affect productivity and quality:
- Cutting Force Increase: A dull blade requires more force to cut. Use a force gauge to measure the pressure needed; an increase of 20% or more indicates significant wear.
- Cutting Time Error: Time how long it takes to make a standard cut with a new blade, then compare it to a worn blade. A 50% increase in time means the blade is inefficient and wasting energy.
- Material Waste: Measure the amount of scrap from cuts with a worn blade. A 10% increase in scrap (e.g., from uneven edges needing trimming) is a clear error from wear.
Steps to Ensure Accurate Measurements
To get reliable results when measuring blade parameters and wear errors, follow these steps:
- Use Calibrated Tools: Ensure tape measures, calipers, and micrometers are calibrated regularly for accuracy.
- Measure in Consistent Conditions: Temperature affects metal expansion, so measure blades at room temperature to avoid errors.
- Check Multiple Points: For parameters like thickness or arbor size, measure at three different points and average the results to reduce variability.
- Compare to Machine Specifications: Always cross-reference your measurements with the machine’s manual to confirm compatibility.
- Document Measurements: Keep a log of blade parameters and wear over time. This helps predict when blades need sharpening or replacement.
How to Address Wear-Related Errors
Once you identify wear errors, take action to maintain performance:
- Sharpen Blades: Sharpening restores tooth edges, reducing cutting force and time errors. Follow the blade’s sharpening guidelines to avoid over-grinding.
- Replace Worn Blades: If sharpening doesn’t fix errors (e.g., severe warping, large chips), replace the blade. Continuing to use a worn blade risks machine damage or accidents.
- Adjust the Machine: For minor wear, adjust the machine (e.g., throat plate width, cutting speed) to compensate for changes in blade thickness or kerf.
- Clean and Maintain Blades: Regular cleaning with a wire brush and rust inhibitor prevents corrosion, extending blade life and reducing errors.
FAQ
What tools do I need to measure blade parameters at home?
Basic tools include a tape measure, caliper, and micrometer. For advanced checks, a dial indicator (for runout) and hardness tester are useful but not essential for home use.
How often should I measure blade wear?
For heavy use (daily operation), check wear weekly. For moderate use, monthly checks are enough. Always inspect blades before starting a new project.
Can a blade with minor wear errors still be used safely?
Minor wear (e.g., 0.1mm tooth loss) is acceptable for non-precision tasks. But errors like warping, large chips, or significant runout make the blade unsafe and should be replaced.
How do I know if my measurement of blade parameters is accurate?
Compare your measurements to the blade’s manufacturer specifications (often printed on the blade). If they match within 0.1mm for critical parameters (arbor size, diameter), your measurements are accurate.
Does blade wear affect machine performance even if the blade still cuts?
Yes. Even if a worn blade cuts, it increases machine strain, uses more energy, and produces lower-quality results. Wear errors compound over time, leading to costly machine damage.

